Everyone can do something to live thoughtfully on the land. Rain gardens are one way people can connect with their local waterway, even if they do not live near it. Planting a rain garden can help keep the creek clean, support biodiversity, and prevent ecological harm to our downstream neighbors.
What is a rain garden?
Instead of sending runoff directly to a storm drain, rain gardens collect rainwater from their surroundings such as the surface of a patio or roof. With a bowl-shaped basin and an inlet that allows runoff to flow in, rain gardens give water a space to cool down and seep naturally into the soil. Rain gardens are often filled with native plants, which have deep root systems that help to remove pollutants from the water and encourage infiltration. Rain gardens often require greater maintenance directly after installation, but as a garden matures, maintenance requirements decrease. This is because native plants are adapted to local climate conditions and can self regulate as they are allowed to establish well and do not experience extreme disturbance.

What does a rain garden do?
Rain gardens typically function best in sandy (Type A or B) soils, but can also work in clay (Type C or D) soils if there is an underdrain. Even on clay soils, rain gardens have been found to reduce surface runoff volume by 60-92%.
As surface runoff soaks into the ground in a rain garden, pollutants are broken down by organisms in the soil and absorbed by plant roots rather than flowing into local waterways (like Plaster Creek!). This process is highly effective at improving water quality. A 2015 study testing clay soils showed significant reductions in the levels of phosphorus, nitrogen, and total suspended solids within the soil.
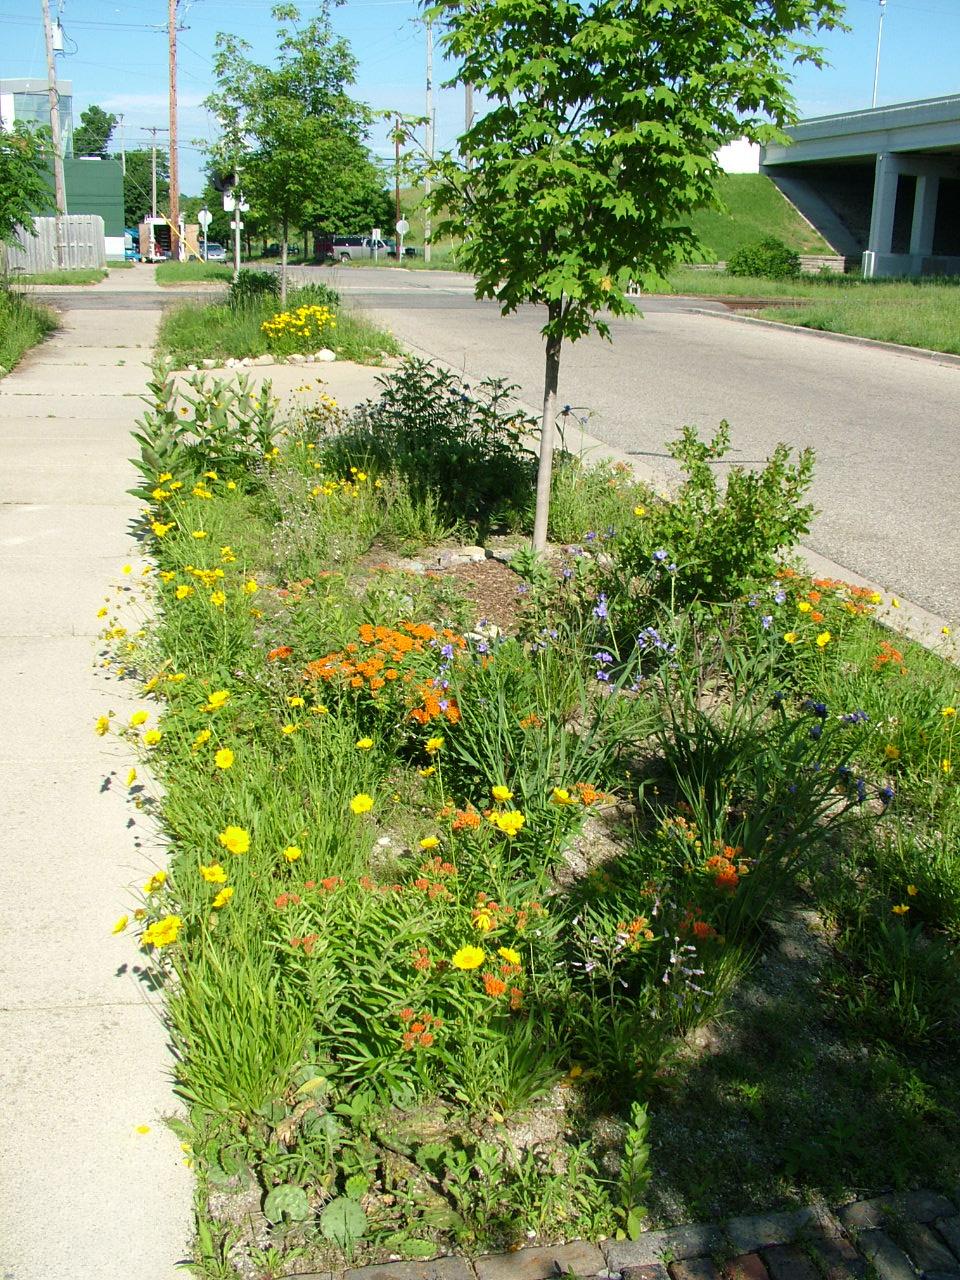
When rain gardens are planted with plants native to that location, gardens provide habitat for native species—especially pollinators—even in developed urban settings where such habitats can be scarce.
How can I get a rain garden?
Interested in installing a rain garden? For those living within the Plaster Creek Watershed, PCS offers site assessments, design plans, installation, maintenance workshops, and native plants for purchase. Our knowledgeable and experienced staff can help you through every step of the process. Proceeds from these projects go toward continuing Plaster Creek restoration work.
PCS is part of Native Plant Guild, a network of Michigan native landscape professionals. If you are interested in a rain garden and live outside the Plaster Creek watershed, Native Plant Guild can connect you with further sources of native landscaping help. No matter where you live, a rain garden will benefit your local waterways and natural ecosystems.
For those who want to do it themselves, Plaster Creek Stewards is here to support you. We have shared the steps to our process below, as well as opportunities to apply for free rain gardens. If you have questions, from choosing a site to finding the right plants, contact us to schedule a free consultation.
There are also endless materials and information online. If you want to learn more, we highly recommend these rain garden guides from The Wisconsin Department of Natural Resources and Washtenaw County.
Installing a rain garden

Step 1: Choose your site
Is a rain garden the right fit for your space? When choosing a site for your rain garden, here are a few questions to ask:
- Where does water move, flow, or collect on your property?
- Follow the flow during/after a rainstorm. Would you like to capture water from a roof or from a downspout?
- Are you interested in remedying a soggy corner of your yard?
Things to keep in mind:
- As a rule of thumb, keep the garden 10–15 feet from building foundations to avoid water leaking into basements
- Do not plant a rain garden above a septic tank
Check the soil in your space. Is it looser and easier to dig? Or is it dense like clay? Your rain garden will look different depending on your soil type. There are many great resources to test your soil type, but using a little bit of water and your fingers is the best way to do it. Dig down in the location of your garden (past the topsoil) and grab a clump of soil in your hands. Now, wet the soil and try to make a fist and clump it together. Generally, clay soils clump together better than sandy soils. Clay, when rubbed between your fingers will also create ‘ribbons’. Sandy soils will not do this. See this soil test for more information.
| TIP Looking to fix that soggy spot in your yard? Because it doesn’t drain quickly, this spot may not be ideal for a rain garden. However, native plants can still help! While they might not dry the area, their deep roots will help to soak up more water. |
For sandy soils, the size of your rain garden can vary greatly. However, as a general rule of thumb you can try to make your rain garden about ⅕ the size of the area it's draining. For example, if your roof is 20 feet by 50 feet (1000 square feet), then your rain garden should be about 200 square feet in area (a 10 by 20 foot rectangle, or a circle with a 16 foot diameter).
For clay soils, don’t try to capture water because it already doesn’t soak into the ground quickly. In whatever space you have, consider planting deep-rooted native plants to help absorb more water. Aim for your rain garden to have a shallow basin (or no basin) and spread water over a larger area of space.
| TIP if you’re concerned about your rain garden being too small, consider finding a way for water to overflow if needed. Create a space for water to flow when the basin fills up – into a storm drain or onto the lawn. |
When considering how much it will cost to install your garden, there are various factors to consider. Factors that will determine cost will be your site prep. For example, will you need to rent equipment such as a sod cutter or spray your grass to kill it? Check your local hardware store for pricing.
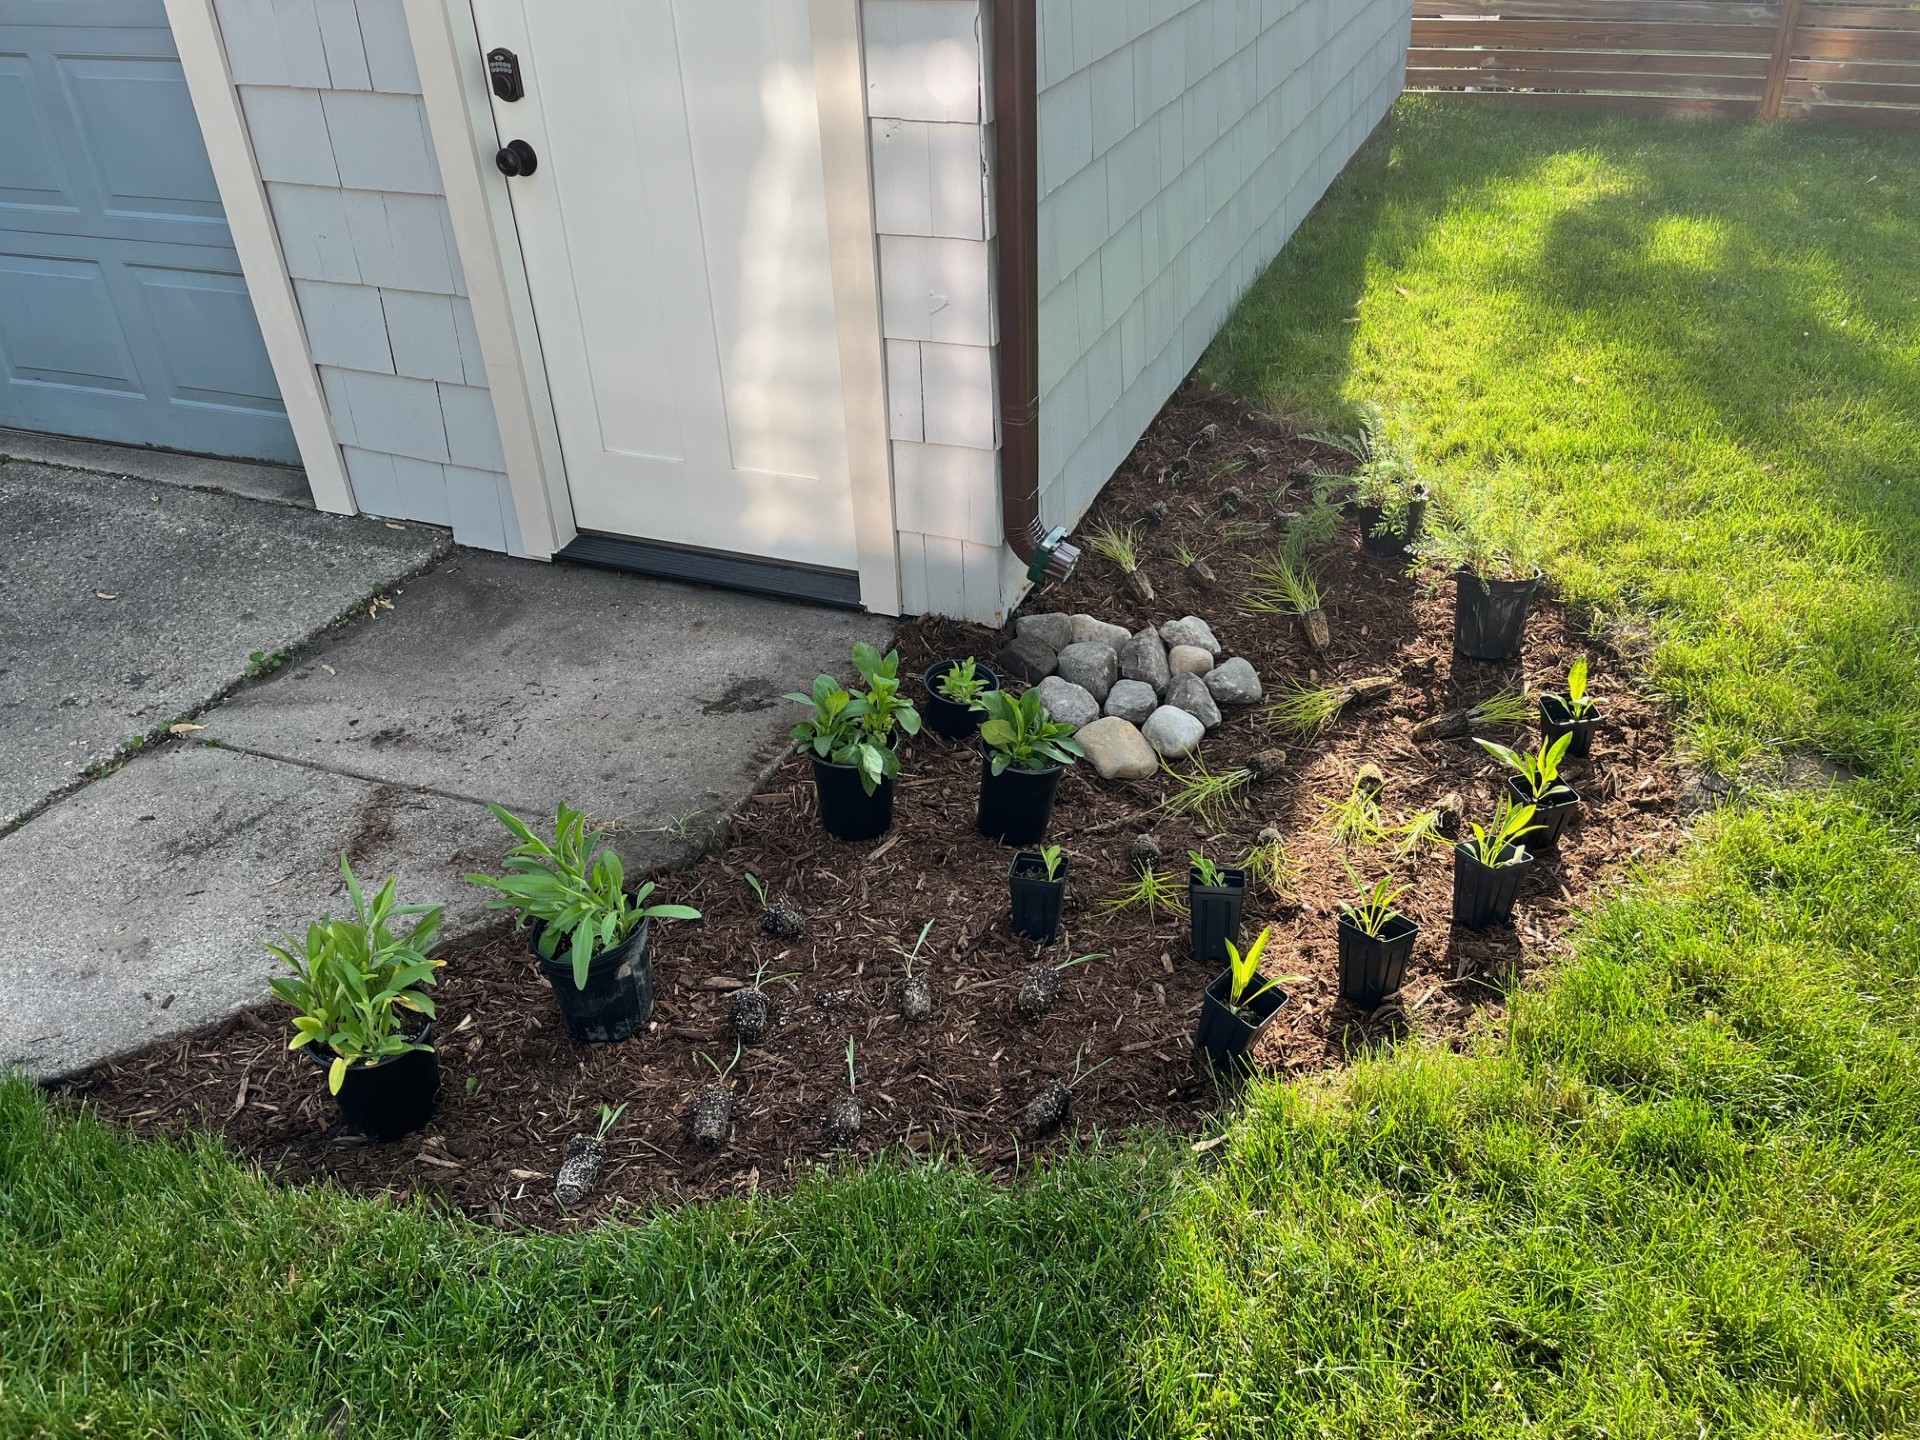
Your site preparation may also determine what materials you will purchase. Plaster Creek Stewards purchases our materials from Birch Tree Bark and Stone. You may want to purchase mulch or compost (See Step 2). You may also want to consider purchasing other materials such as rocks to border your garden or to include in your rain garden to slow water down.
For example, when designing a 300-square-foot garden, you may want:
- Mulch (2 yards of premium hardwood bark):$29 + $55 delivery fee
- Compost (1 yard of garden soil blend): $42+ $55 delivery fee
The other large cost would be the number of plants you need to purchase. After you know what kind of plants you want where, you can determine where to source them. There are lots of local growers that you can purchase your plants from. Plaster Creek Stewards generally recommend planting at least one plant per square foot. You can choose to plant less densely, meaning that you will have to do more maintenance. Or, you can plant more densely, which will cost more but would also most likely reduce weed pressure.
For a 300-square-foot garden, 300 plants would be needed. When buying plants by the flat, expect to pay between $500-$800. Individual plants may be bigger but more expensive.
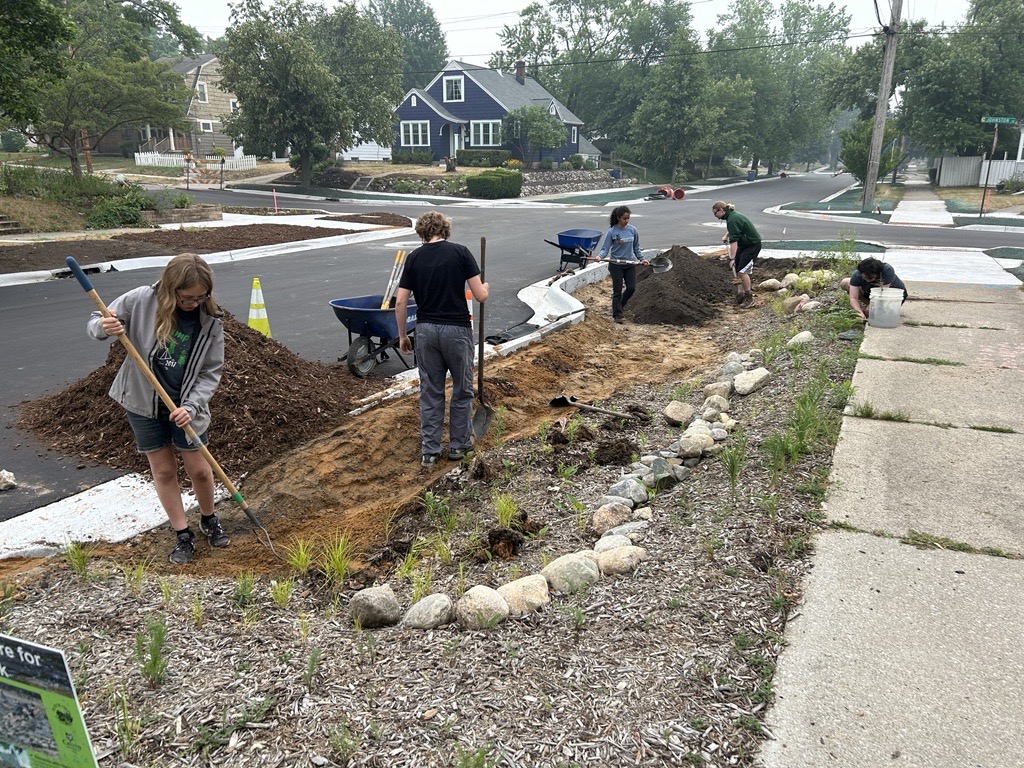
The final cost to consider would be labor. You can choose to hire Plaster Creek Stewards to install your project, or you can do friends and family planting with those in your community. The cost of labor will vary depending on your site. Contact us for a quote.

This is an example of a rain garden design. Maps should include the main features of the space (buildings, trees, high/low spaces in the yard, etc) and how the garden fits in with them.
As you design your garden, consider how it will fit seamlessly into the existing space. Don’t worry about getting everything exactly right; instead use this as a way to visualize your space and think creatively!

Step 2: Site preparation
Here are some options for removing grass, weeds, and other growth from your site.
Remove sod: For small areas, use a shovel to dig up the shallow roots of turf grass.
Use a sod cutter: For larger areas, consider renting a sod cutter from your local hardware store to remove turf grass more quickly.
Sheet mulching: Grass and weeds can be killed over the course of several weeks by smothering the area in a layer of cardboard followed by a thick layer of wood chips. Here’s a how-to guide with more information.
Pull weeds by hand: Keep an eye out for pesky, persistent weeds even after turf grass has been removed or wood chips have been spread.
| On herbicides: PCS recommends not using herbicides when dealing with weeds. However, if you do apply herbicide, make sure to follow label and manufacturer instructions. Poorly applied herbicides can harm your plants and the creek! |
If you have sandy soils, you will need to dig a shallow basin (6-12 in) for your rain garden to collect runoff. The size and depth of your basin will depend on many factors, but will largely be based on the amount of water that you are trying to soak into the ground. You can create a basin with a shovel or with rented equipment.
| Note: if you have clay soils, you should NOT dig a basin. This could cause the water to pool for long periods of time, attracting mosquitoes. |
Your area may look nice after you weed it the first time, but there are likely still weed seeds hiding in the soil. Wait a few weeks, water the soil frequently, and then pull the weeds again. This is called flushing the seed bank. If you can, do this several times so that after you plant, your plants won’t have to compete with pesky weeds.
Mixing a small amount of compost into the native soil at your garden site will give native plant seedlings a boost of extra nutrients as they get established. Native plants are hardy, so adding compost is not necessary, but it can speed up plant growth early on.
| Budget Note: Decide what kind of compost you will need and if you want delivery or you want to pick it up. There are many online compost calculators to determine how many yards of compost you want. Generally we recommend one to two inches of compost for a garden. |
Before you plant, spread a 2-inch layer of wood chips over the soil. This will help smother any remaining weed seeds and retain moisture in the soil during hot summer days. It is not necessary to spread a fresh layer of mulch on your garden every year, as it can also prevent native seeds from sprouting.
| Budget Note: We recommend using natural and dye free mulch. You can choose delivery or pick up, or could even use bagged mulch. You should have enough to apply a 2-inch layer over your rain garden. |
Adding rocks and stones to your garden is completely optional. Rocks can be used to divert water, line garden edges, and add aesthetic appeal to your rain garden. Consider placing some rocks at the base of a downspout to absorb energy from fast-flowing water, or create a rock channel in the garden’s basin.
| Budget Note: Labor Will you be doing labor yourself, have friends and family to help, or are you hiring a crew? |
| Budget Note: Permits Will your rain garden require any special permits? This may be the case if your rain garden is in the right of way. |

Step 3: Planting
Michigan native plants are well-adapted to local conditions, giving your rain garden four seasons of variety and beauty. Their deep roots (up to 15 feet deep!) will improve absorption of stormwater in your rain garden while above ground they provide habitat needed by pollinators, birds, and other creatures.
The most important thing when choosing plants is to understand the environmental conditions of your garden. Consider these three factors before you plant.
- Sunlight: Is my space sunny or shady (or both)?
- Soil: Do I have sandy or clay soil? (this question should have been answered when selecting your site)
- Wetness: Is the soil in this space typically wet or dry?
A few other factors to consider:
- Will nearby deer or other animals want to eat the plants?
- Are there dogs or other animals that may come into contact with your garden? (some plants may be toxic to some wildlife)
- What will it look like each season? (find flowers that bloom in every season, add grasses for winter interest)
- What size plants would work best in different sections of your rain garden?
- How big will the plants be when they are mature?
We have compiled a list of native plants that we like to use depending on different environmental factors. These plants are all native to Michigan and we have found these species to be useful in our projects, but this is not an exhaustive list. If you have any questions about particular plants, please contact us.
| Budget Note: When determining how many plants you will need, we generally recommend one plant per square foot. This will maximize root growth in the soil and enable the plants to soak up as much water as possible. |
| TIP: Choose native plants from a reputable grower that grows plants with local genotype (meaning that the plant comes specifically from Michigan and not another area). This will ensure that the plant’s genes are diverse and will better support native wildlife. |

Step 4: Maintenance
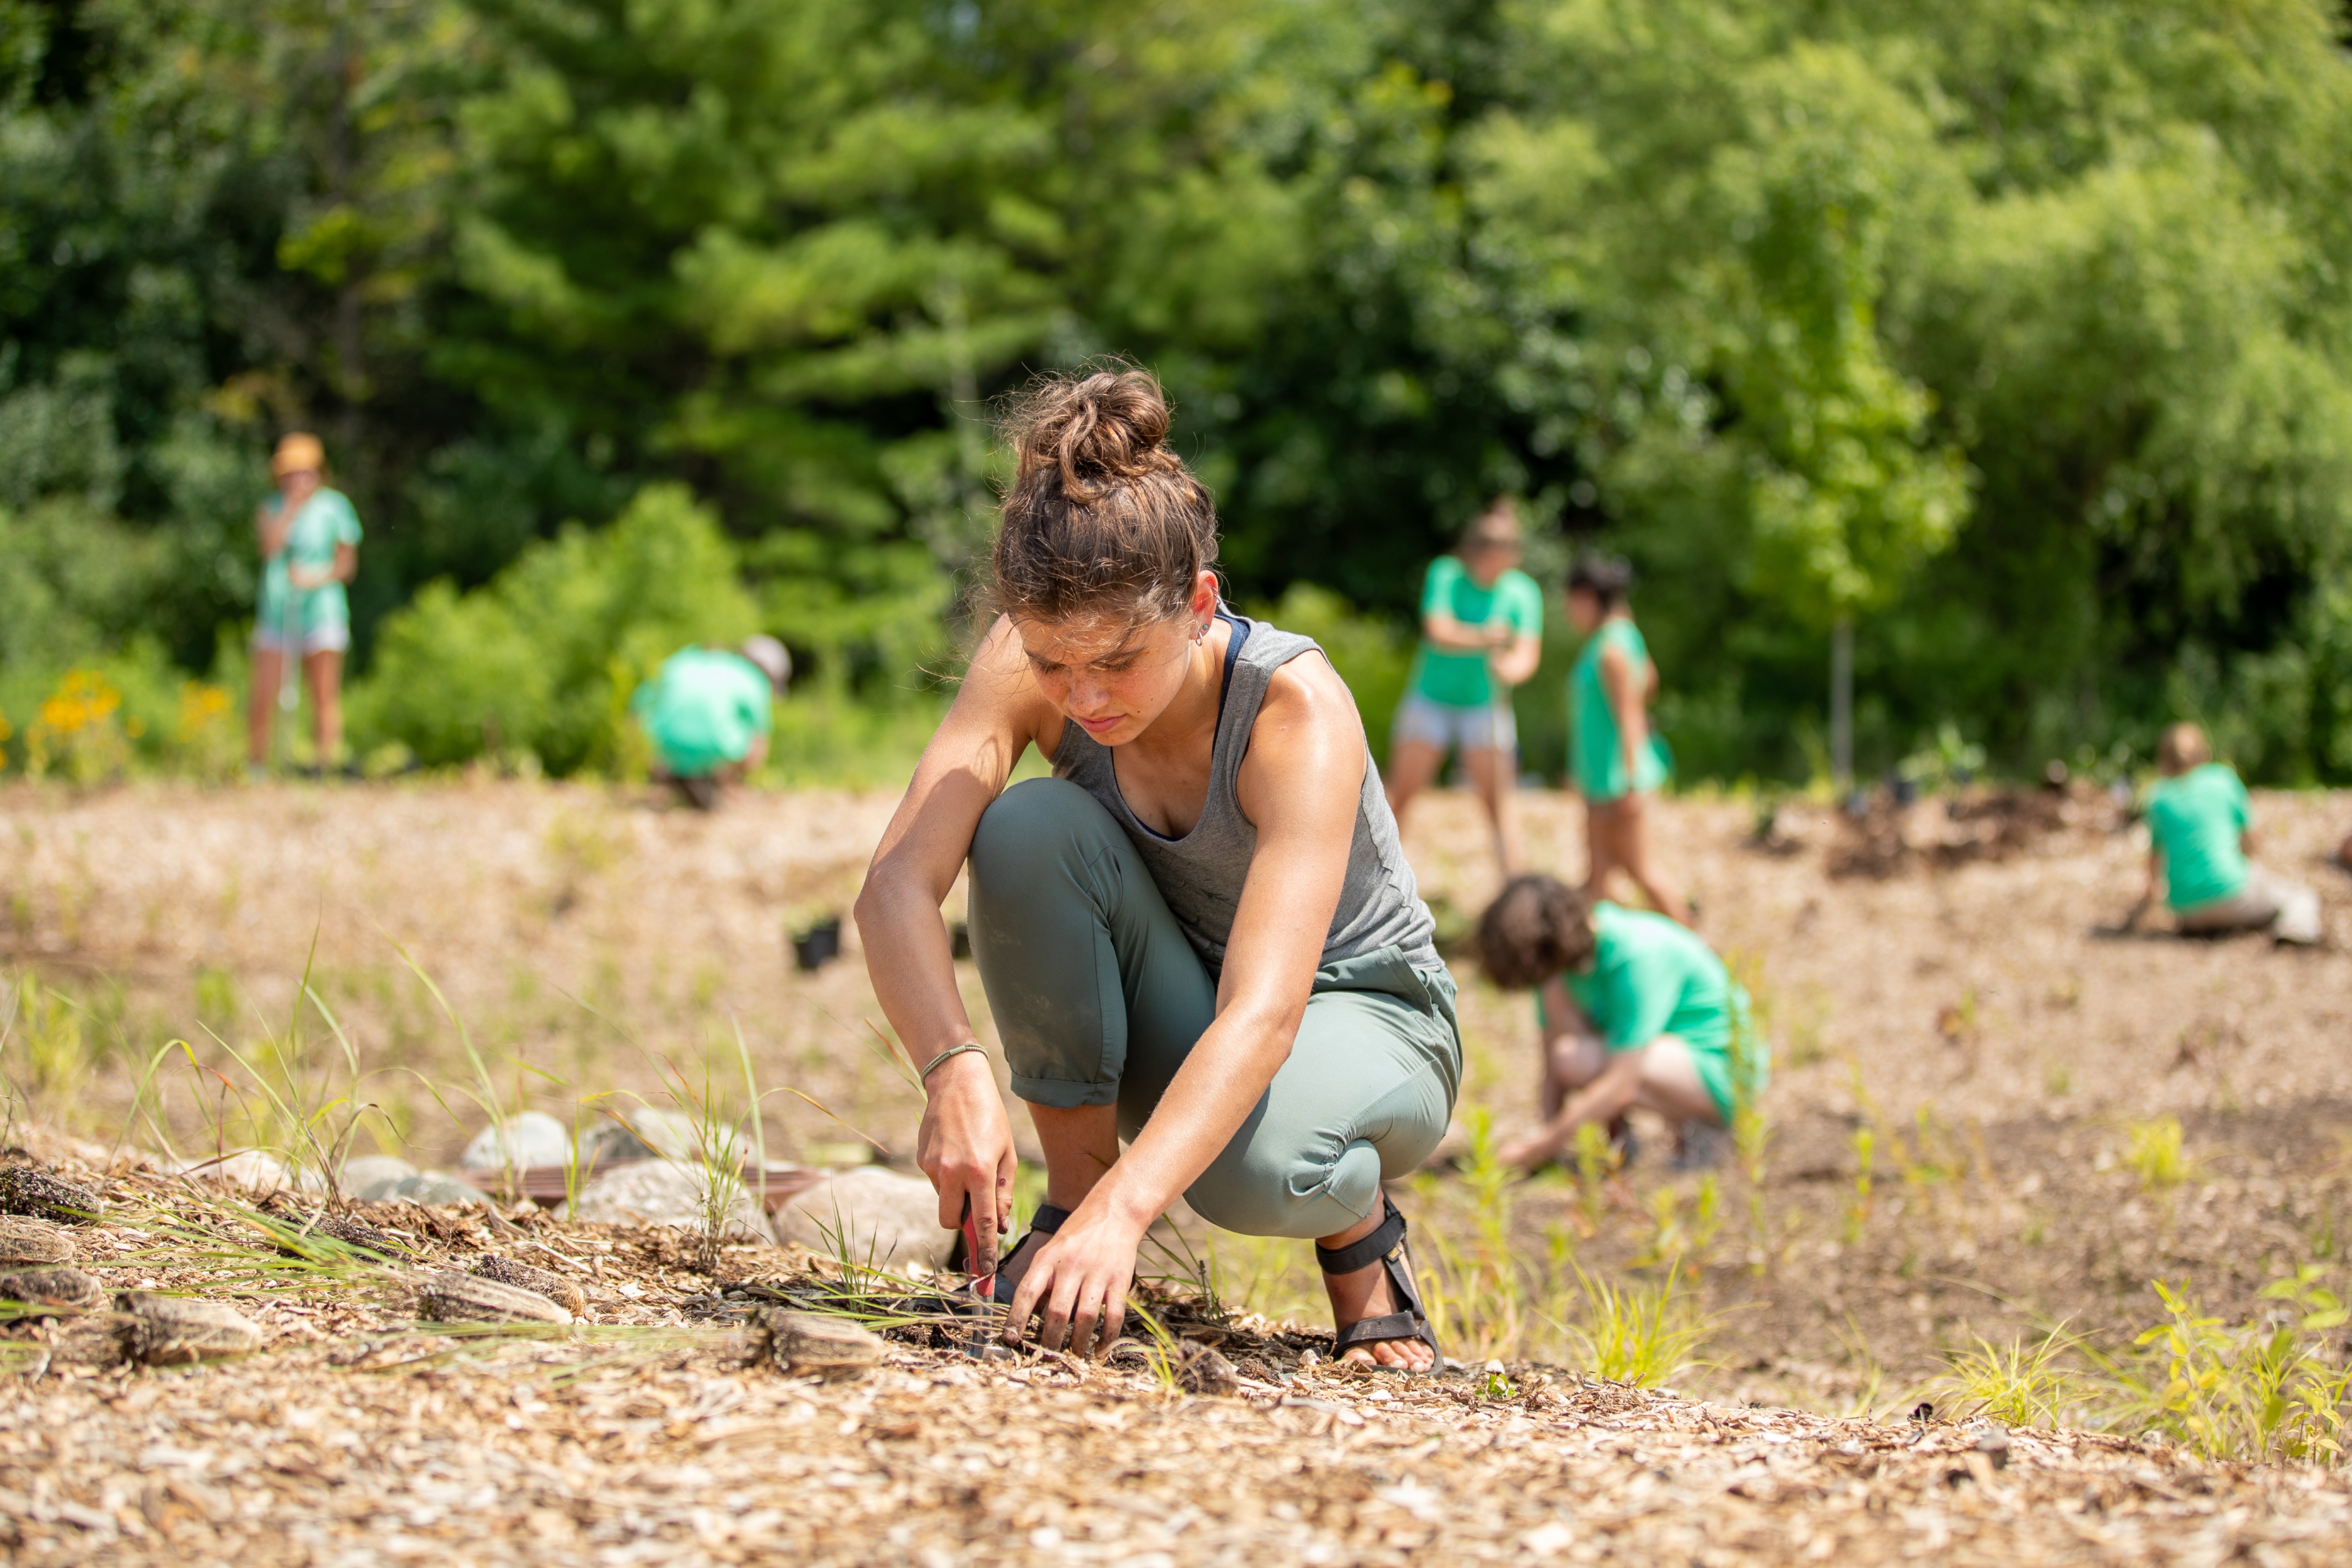
Rain gardens often require the most maintenance during the first two months after installation. A new rain garden should be watered every other day (when it doesn’t rain) and weeded carefully at least twice per month to give the plants the resources they need to build established root systems. Becoming familiar with plants in your garden as they grow will help you identify weeds that show up.
Mature gardens generally do not need watering or fertilizing. However, they should still be weeded regularly, and watering them during particularly dry periods may be necessary.
| TIP The goal of watering is to make sure that the plants’ root systems do not dry out. Watering every other day is meant as a guide, but you should use discretion when watering your garden. It’s better to water very thoroughly and infrequently than to just sprinkle the surface of the garden every day. |
Frequently asked questions
The cost of installing a rain garden on your property will largely depend on the size of your garden, as well as how densely you plant.
Deer and other browsing animals can be a challenge for some garden owners. Instead of being frustrated by the deer eating plants, remind yourself that animals eating your plants means that your rain garden is doing its job: providing important habitat for wildlife. Consider these animals as a guide to show you what they will eat and what they won’t. Consider keeping some plants that the animals do like as a food source, but planting them next to things the animals won’t touch. Generally speaking, deer will avoid plants that have hairy, spiny, or spiky leaves. They also tend to stay away from grasses and sedges.
This is a common misconception regarding native plants. The truth is, any garden can look weedy if it is not taken care of, and any garden can look beautiful if it is properly maintained! Native plants come in many sizes, shapes, and colors, so you can design a garden that looks good to you. And like any garden, your rain garden will require regular maintenance such as weeding, pruning and edging to keep it looking tidy.
A native garden is a broader term referring to any garden that incorporates native plants into its design. A rain garden, on the other hand, is a special type of green stormwater infrastructure designed to help manage stormwater. Rain gardens are often also native gardens.


